
Your passport is ready, your flight to Bangkok or Hanoi is booked, but have you thought about keeping a usable digital copy? Scanning your passport before a trip to Asia is not just about taking a blurry photo with your phone. The quality of the file, the chosen page, and the recording format determine the actual usefulness of this copy, whether for online check-in, an electronic visa application, or troubleshooting in case of loss.
NFC scan and photo scan of the passport: two techniques not to be confused
Most travelers think that a passport scan is just an image. In reality, recent biometric passports come with an NFC chip that can be read by a compatible smartphone. This NFC scan and the traditional photo scan serve different needs.
The photo scan produces an image of the identity page. This is the file you will attach to an online visa application for Vietnam, Thailand, or Indonesia. The NFC scan, on the other hand, extracts the encrypted data stored in the chip: high-definition biometric photo, fingerprints, coded civil status information.
To successfully perform an NFC scan, you need to activate the NFC function on your phone and remove the case if it is thick. Then, lay the device flat on the cover of the passport without lifting it until the reading is complete. A premature movement interrupts the transfer and requires starting over.
Some Asian airline registration apps now offer this NFC reading directly in their interface. You can delve deeper into how to scan a passport with En Route pour l’Asie for a detailed step-by-step guide tailored to Asian destinations.
The photo scan remains the most common. It works with any smartphone or flatbed scanner. The rest of this article focuses on the concrete errors that make this scan unusable.
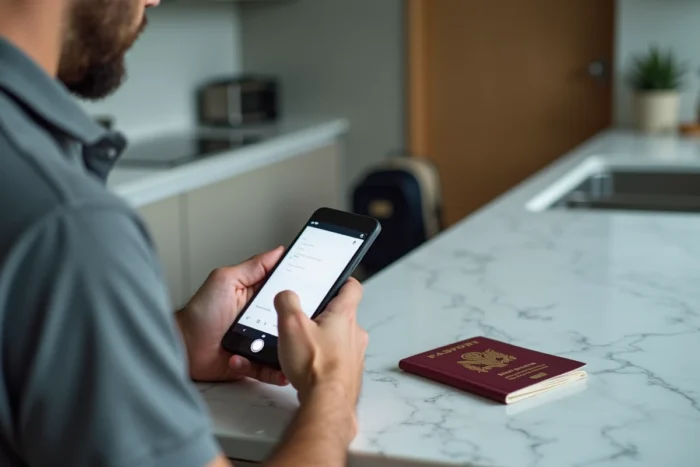
MRZ and framing: technical details that can cause a passport scan to fail
Have you ever noticed the two lines of characters at the bottom of the identity page of your passport? This is the machine-readable zone, called MRZ. The MRZ must be fully visible and readable in your scan, with no characters cut off. This is what online verification systems prioritize for analysis.
A cropping that is too tight is the most common mistake. In trying to center the identity photo, many travelers cut off one edge of the MRZ or a corner of the document. Electronic visa portals then reject the file without a clear explanation.
The four rules for a usable scan
- Keep all four corners of the passport in the frame, even if it includes a bit of background around the document. A slight space around is better than a cropped edge.
- Scan in color, never in black and white. Verification systems compare background shades, holograms, and colored micro-prints.
- Do not apply filters, automatic enhancements, or retouching. Fraud detection algorithms flag edited files.
- Prefer a JPEG or PDF file without additional compression. Compressing a scan to save space on your phone degrades the micro-details that automated systems use.
Uniform lighting also makes a difference. A reflection on the laminated page obscures part of the information, especially the photo or signature. Lay the passport flat on a dark surface and illuminate from a side angle rather than from the front.
Electronic visa in Asia: adapting the scan to the requirements of the destination country
Each Asian country has its own specifications for documents attached to visa or entry authorization applications. A scan accepted for Vietnam may be rejected for Indonesia, and vice versa.
Indonesia, for example, requires a scan of the passport’s identity page when submitting the electronic arrival card online. The file must be clear and uncompressed. Vietnam, for its e-visa, imposes a specific photo format of the face in addition to the complete scan of the identity page.
Malaysia and Thailand sometimes require a scan of the identity page during online check-in with the airline, in addition to the scan required for the visa. This means that you will need your file multiple times even before boarding.
Prepare your scan before departure rather than at the airport
Scanning your passport calmly at home, with good lighting and a stable surface, yields a much better result than an improvised scan with your phone under the neon lights of a terminal. Store the file both on your phone, in a secure online storage service, and on a USB drive if you are traveling with a laptop.
This triple storage also protects in case of theft or loss of the physical passport. A French consulate in Asia will issue a pass more quickly if you present a readable and complete copy of your document, rather than a vague memory of your passport number.
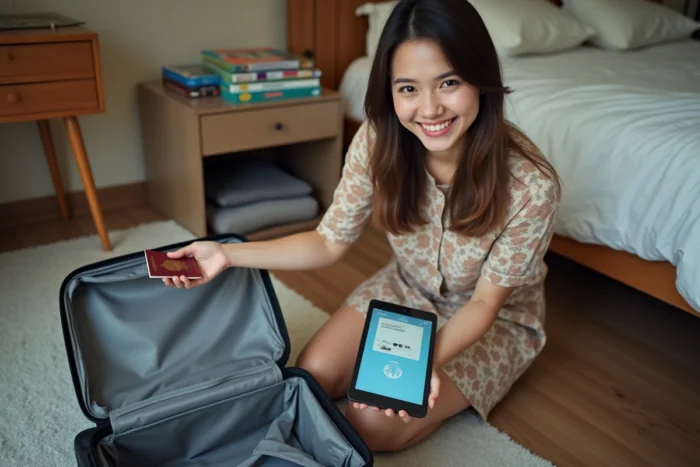
Common mistakes with smartphone scanning apps
Smartphone scanning apps (Scanner Pro, Adobe Scan, Notes on iPhone) often offer automatic cropping and perspective correction. These features are useful for an A4 document, but they cause problems with a passport.
Automatic cropping detects the edges of the text, not those of the document. As a result, it sometimes cuts off the MRZ or the upper edges. Disable automatic cropping and frame manually to maintain control.
The perspective correction slightly distorts proportions. On an identity document, this distortion can be enough to trigger an automatic rejection. Prefer a flat scan, with the phone parallel to the passport, rather than an angled scan corrected by the software.
Last precaution: check the file size after the scan. If your image is less than a few hundred kilobytes, it has probably been excessively compressed. A good color passport scan generally weighs more.
Preparing a correct scan of your passport takes just a few minutes at home. It’s a simple gesture that avoids concrete blockages during check-in, electronic visa submission, or at a consulate in case of trouble. Do it before you pack your suitcase, not the night before departure in a rush.