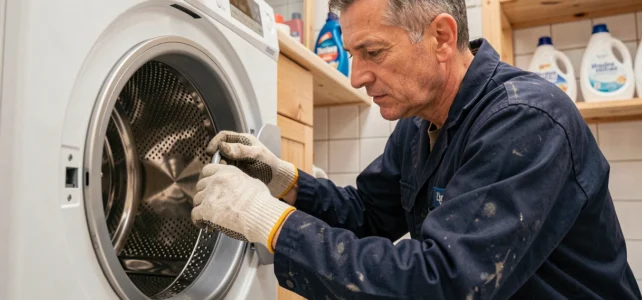
A drum that vibrates abnormally, rubs against the tub, or refuses to turn freely poses a concrete problem: the laundry comes out poorly washed, the machine wears out prematurely, and the noise becomes unbearable. Since July 31, 2026, the European directive on the right to repair changes the game for washing machine owners facing this type of breakdown. Before replacing the appliance, several checks can help restore the drum to working order.
Right to Repair and Washing Machine Drum: What the European Directive 2024/1799 Changes
Competing articles detail DIY steps but overlook a major regulatory change. Since July 31, 2026, the European Directive 2024/1799 on the right to repair applies to washing machines. Manufacturers are now required to offer a repair if the appliance is technically repairable, even after the end of the legal warranty.
For a drum failure (faulty bearings, cracked spider, misaligned shaft), this means you can demand intervention from the manufacturer within a reasonable timeframe and at a reasonable cost. The directive explicitly covers washing machines in its Annex II, alongside refrigerators, dishwashers, and smartphones.
Another point to remember: a prior intervention by an individual or an independent repairer can no longer justify a refusal of repair from the manufacturer. If you have already attempted to diagnose or tighten the drum yourself, this does not close the door on your rights. Knowing how to fix a washing machine drum remains useful, whether you intervene alone or assert this new right with the manufacturer.
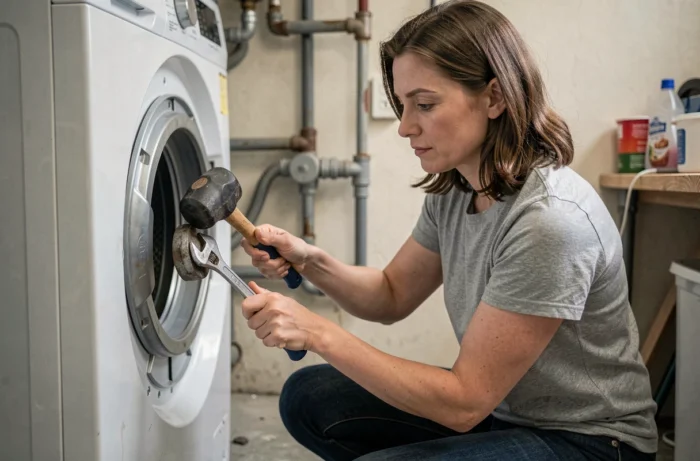
Identifying Drum Failure: Noise, Play, or Locking
Not all drum failures are the same, and the diagnosis determines the next steps. Three main symptoms guide the intervention.
Drum Making Noise During Spin Cycle
A dull rumble or metallic clanking during the spin cycle usually indicates worn bearings or a cracked drum spider. To check, open the door and turn the drum by hand. Excessive play (the drum moves up and down several centimeters) confirms bearing wear.
The spider, this star-shaped piece fixed to the bottom of the drum, can also crack due to corrosion. On some models, the spider is made of aluminum and corrodes faster when in contact with concentrated liquid detergents.
Drum Locked or Not Turning
A completely immobile drum can have several causes. Before suspecting the motor, check these elements:
- The drive belt: if it is broken or misaligned, the motor runs idly. A visual inspection through the back panel is sufficient for this.
- An object stuck between the drum and the tub: coins, bra underwires, or buttons that pass through the drum holes and block rotation.
- The motor brushes: on machines equipped with a brush motor, their gradual wear prevents current transmission. Brushes that are too short (a few millimeters) should be replaced in pairs.
Misaligned Drum Rubbing Against the Tub
Regular rubbing, sometimes accompanied by gray marks on the laundry, indicates that the drum is no longer centered. The dampers and suspension springs keep the tub in position. When a damper fails, the tub tilts to one side, and the drum comes into contact with the walls.
To test the dampers, press firmly down on the drum and then release. If it bounces several times before stabilizing, the dampers are no longer fulfilling their absorption function.
Repairing the Drum Yourself: Realistic Interventions
Not all repairs are within the reach of an occasional DIYer. Field feedback varies on this point, as the difficulty greatly depends on the model (front-loading or top-loading) and the brand.
Replacing the Drive Belt
This is the most accessible intervention. Remove the back panel of the machine with a Phillips screwdriver. The worn belt detaches from the drum pulley and the motor pulley. Place the new belt first on the motor pulley, then gradually work it onto the large pulley by turning the drum by hand.
Removing an Object Stuck Between Drum and Tub
On front-loading machines, remove the heating element (usually located under the tub, accessible from the back) to create a passage. Tilt the machine and retrieve the object using long-nose pliers. On top-loading models, the drum access door sometimes provides access to the area between the tub and the drum, but the manipulation remains delicate.
Changing the Bearings: A Heavy Operation
Replacing the bearings requires almost completely disassembling the machine: panels, control panel, counterweights, springs, hoses, heating element, and then separating the two half-tubs. On sealed tubs (non-removable), the operation becomes even more complex as the tub must be cut. The cost in time and spare parts often exceeds the residual value of the appliance.
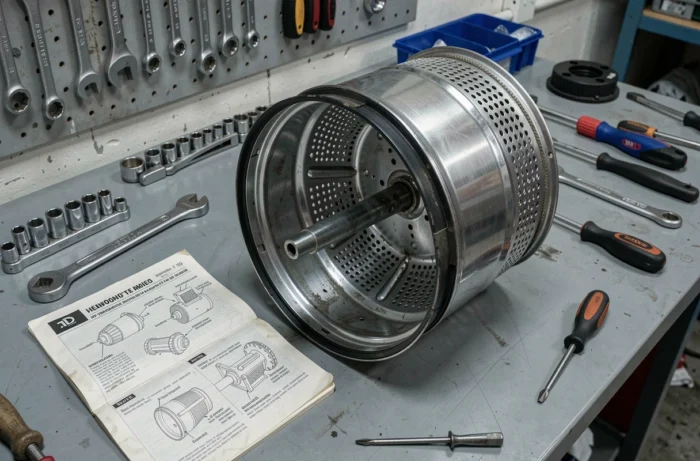
Broken Drum Lifter Blades: Replacement and Fixing
The lifters (or blades) are the plastic pieces fixed inside the drum that agitate the laundry during washing. When a lifter cracks or detaches, the laundry accumulates on one side, and spinning causes vibrations.
Replacement is straightforward on most models. The lifter is held by a clip or a screw accessible from inside the drum. By opening the hatch or door, you can remove the defective lifter and snap in the new one. Check the exact reference of your appliance before ordering the part, as dimensions and fixing systems vary from brand to brand.
If multiple lifters are damaged simultaneously, this may indicate a regular overload of the machine or general wear of the drum that warrants further examination.
When Drum Repair is No Longer Enough
A cracked spider on a sealed tub model, seized bearings on a machine over ten years old, a corroded drum shaft: some failures make repair economically questionable. The European directive requires the manufacturer to provide a quote, allowing for an objective comparison of the repair cost with that of a replacement.
Keep in mind that the availability of spare parts is regulated by eco-design regulations. Manufacturers must maintain a stock of essential parts for several years after the model is discontinued. Check this availability before embarking on a complete disassembly.